Over Molding | Process, Materials, Pros, and Applications
This article explains overmolding for plastic injection molded parts, including the substrate, second-shot material, bonding method, material compatibility, tooling, and RFQ decisions. The practical RFQ problem is deciding whether overmolding can meet grip, sealing, insulation, protection, appearance, assembly, and durability requirements without creating adhesion, shrinkage, warpage, flash, or peel risk.
How Overmolding Combines a Substrate and Secondary Material
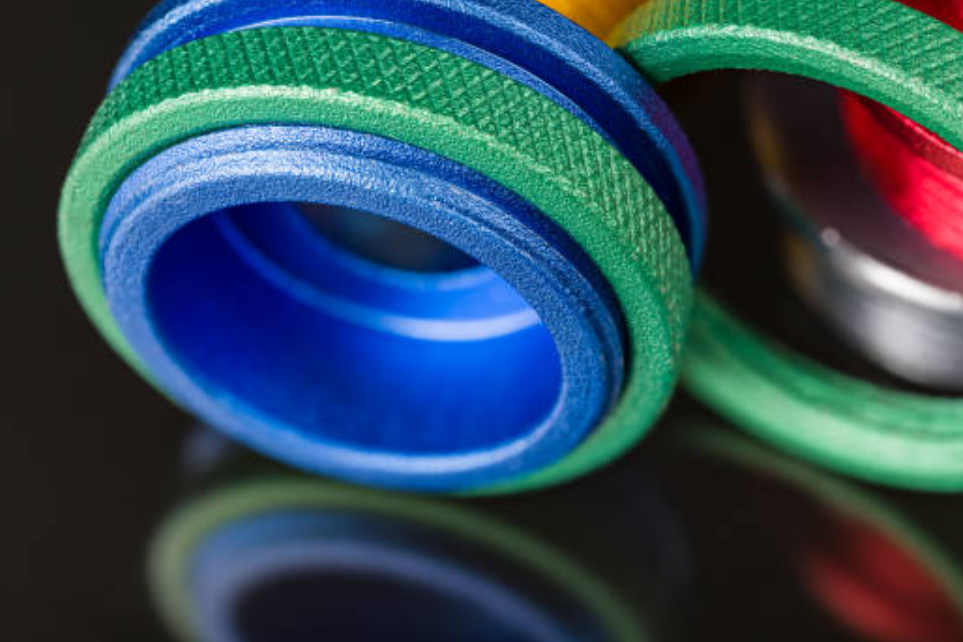
Overmolding combines two or more materials into one molded part. A rigid substrate is produced first, then a second material is molded onto or around the substrate. The second material may add grip, sealing, cushioning, electrical insulation, color contrast, impact protection, or a user-contact surface.
Overmolding is different from simply gluing two parts together. The part must be designed for molding sequence, material bonding, heat exposure, shrinkage, parting line, gate location, and ejection. Buyers should provide drawings that identify the rigid substrate, overmolded area, visible surfaces, pull or peel loads, assembly interfaces, and inspection requirements.
Buyer Question | Overmolding Answer | Manufacturing Reason | RFQ Detail Needed |
|---|---|---|---|
Why use overmolding? | To combine a rigid body with a functional or tactile secondary layer | The second shot can improve grip, sealing, protection, or appearance | Function of the overmold, use environment, contact surfaces |
What controls bonding? | Material compatibility, surface condition, melt temperature, and tool design | Adhesion depends on chemistry and molding conditions | Substrate material, overmold material, peel requirement |
What can fail? | Peeling, flash, warpage, sink, poor fill, or cosmetic mismatch | Two materials shrink and flow differently | Critical edges, cosmetic faces, dimensional tolerances |
Overmolding Process: Substrate Molding, Surface Preparation, Second Shot, and Inspection
The overmolding process starts with substrate production. The substrate may be a molded plastic part, a machined plastic or metal insert, or a previously assembled component. The substrate must fit the second mold cavity, resist deformation during the second shot, and remain stable under molding temperature and injection pressure.
Surface preparation may include cleaning, drying, plasma treatment, texture, mechanical undercuts, or design features that improve retention. The second material is then injected over the substrate. After cooling and ejection, the part is checked for adhesion, flash, voids, short shot, sink, color variation, and dimensional stability.
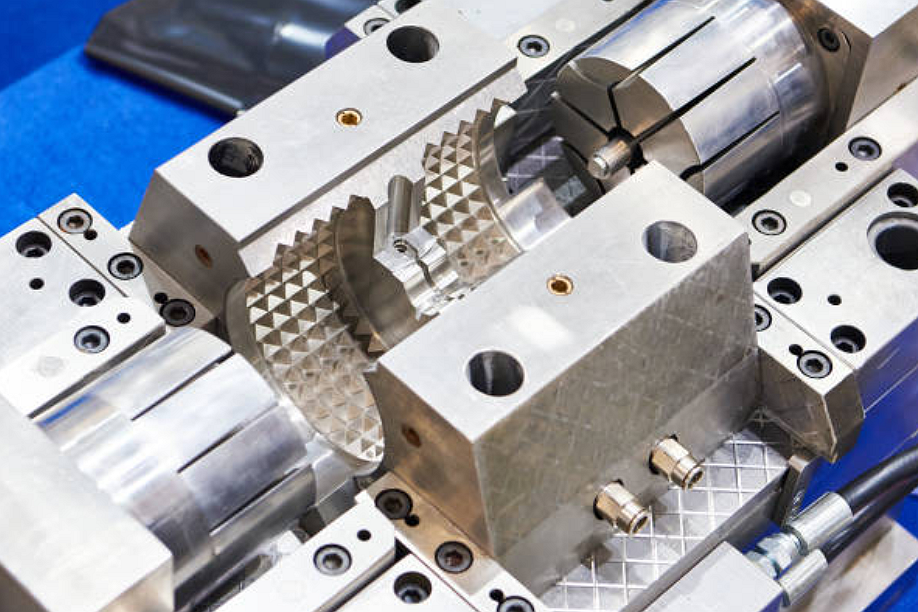
Overmolding Stage | What Happens | Risk to Control | Buyer Confirmation Needed |
|---|---|---|---|
Substrate molding or insert preparation | Rigid base part is produced and prepared for second shot | Warped substrate, contamination, poor fit in second mold | Substrate material, dimensional tolerance, cleaning requirement |
Second-shot molding | TPE, TPU, elastomer, or plastic is molded over the substrate | Short shot, flash, burn mark, overpressure, substrate shift | Overmold thickness, gate restriction, cosmetic surfaces |
Cooling and ejection | Two-material part solidifies and leaves the mold | Warpage, edge lift, ejector mark, deformation | Flatness, visible faces, fixture or packaging need |
Inspection and testing | Part is checked for adhesion, dimensions, and appearance | Peel failure, color mismatch, flash, fit issue | Pull test, visual standard, dimensional report |
Overmolding Materials: TPE, TPU, ABS, Nylon PA, PP, POM, and PEEK
Material selection controls adhesion, feel, flexibility, chemical exposure, temperature resistance, color, and molding window. A soft-touch TPE can behave differently on ABS, nylon PA, PP polypropylene, POM, or PEEK. The substrate material and the overmold material should be chosen together, not as separate purchasing decisions.
Some material pairs bond chemically under the right process conditions. Other pairs may need mechanical locks, holes, ribs, grooves, surface texture, or assembly features because chemical adhesion is weak. Buyers should identify whether the second material is required for soft touch, sealing, anti-slip grip, electrical insulation, impact absorption, vibration damping, or color marking.
Material Entity | Common Overmolding Role | Manufacturing Risk | RFQ Detail to Define |
|---|---|---|---|
TPE or TPU | Soft-touch grip, seal, anti-slip layer, cushion | Peel, flash, tackiness, color variation | Hardness, color, surface texture, adhesion test |
ABS or ABS-PC | Rigid substrate for housings and handles | Heat deformation, sink, cosmetic mismatch | Substrate grade, visible surfaces, dimensional tolerance |
Nylon PA | Structural substrate with strength and wear resistance | Moisture sensitivity, dimensional change, bonding variation | Drying condition, glass fiber content, use environment |
PP, POM, or PEEK | Functional substrate where chemical or thermal behavior matters | Adhesion difficulty, shrinkage mismatch, processing window | Material grade, bonding method, validation requirement |
Adhesion, Shrinkage, Warpage, Flash, and Peel Risk in Overmolded Parts
The most important overmolding risks are poor adhesion, edge peeling, flash, short shot, sink mark, warpage, color mismatch, gate mark, and dimensional shift. These risks are often linked to material compatibility, melt temperature, injection pressure, venting, overmold thickness, tool shutoff, and substrate support.
Critical edges should be designed with enough overlap, mechanical retention, and shutoff strength. Thin lips, sharp corners, unsupported flexible regions, and uneven overmold thickness can create peeling or filling problems. If the overmold is a sealing feature, the buyer should define compression, leak requirement, and inspection method rather than relying only on visual checks.
Part Feature | Overmolding Risk | Design Review Focus | Inspection Evidence |
|---|---|---|---|
Soft grip surface | Peel, gloss mismatch, tacky feel | Material pair, texture, hardness, edge overlap | Peel test, visual standard, hardness check when specified |
Sealing lip | Flash, incomplete fill, compression variation | Shutoff, venting, lip thickness, substrate support | Dimensional report, leak test when specified |
Metal or plastic insert | Insert shift, poor encapsulation, local stress | Locating features, insert tolerance, molding pressure | Pull test, section review, dimensional check |
Cosmetic color band | Color variation, weld line, gate mark | Gate location, visible face, resin lot control | Color sample, visual inspection standard |
Overmolding vs Insert Molding and Traditional Injection Molding
Overmolding is used when a second material is molded over a substrate to create a two-material part. Insert molding places a metal or plastic insert into a mold and surrounds part of the insert with plastic. Traditional plastic injection molding produces a single-material molded part unless secondary assembly is added.
Process Route | Typical Use | Manufacturing Constraint | Buyer Decision Point |
|---|---|---|---|
Overmolding | Soft grip, seal, cushion, color band, protective layer | Material compatibility and two-shot tooling control | Adhesion, hardness, substrate fit, surface requirement |
Insert molding | Metal threads, pins, bushings, contacts, or structural inserts in plastic | Insert positioning and plastic flow around the insert | Insert tolerance, pull-out load, plating or cleaning condition |
Traditional injection molding | Single-material plastic housings, covers, brackets, and clips | Limited to one molded material per shot unless assembled later | Material grade, mold cost, assembly method |
Applications, Pros, Limits, and Secondary Operations for Overmolded Parts
Overmolding may fit handles, grips, seals, buttons, cable strain relief, protective covers, tool housings, connector bodies, caps, and multi-material enclosures. The main advantages are part consolidation, improved grip, improved sealing, better user contact surface, reduced assembly steps, and protection of selected substrate areas.
The limitations are material compatibility, tooling cost, longer development review, possible substrate deformation, and the need for adhesion validation. Secondary operations may include trimming, deflashing, laser marking, pad printing, assembly, leak testing, pull testing, dimensional inspection, and packaging that protects soft surfaces from deformation.
RFQ Inputs and Inspection Evidence for Overmolding Projects
An overmolding RFQ should include 3D CAD, 2D drawing, substrate material, overmold material, hardness, color, texture, expected quantity, annual volume, cosmetic surfaces, sealing requirement, adhesion requirement, insert details, and inspection criteria. The buyer should also identify whether the supplier is quoting the substrate, the overmold, or the complete two-shot part.
Useful inspection evidence may include dimensional report, FAI, visual standard, color sample, hardness check, peel test, pull test, leak test, material certificate, and process sample approval. For functional seals or safety-related assemblies, acceptance criteria should be agreed before tooling release, and final validation remains the buyer's responsibility.
RFQ Input | Why It Matters in Overmolding | Quotation Impact | Possible Inspection Evidence |
|---|---|---|---|
Substrate and overmold materials | Controls bonding, shrinkage, process temperature, and surface feel | Affects resin selection, tooling, and validation | Material certificate, hardness check, adhesion test |
Overmold thickness and edges | Defines fill risk, flash risk, peel resistance, and cosmetic control | Affects tool shutoff, gate design, and inspection time | Dimensional report, visual standard, section review when required |
Functional requirement | Separates grip, seal, protection, insulation, and cosmetic needs | Determines test method and acceptance criteria | Pull test, leak test, compression check when specified |
Production stage | Prototype, pilot lot, and production may need different controls | Affects sample approval, fixture development, and quality plan | FAI, pilot report, production inspection plan |
Related FAQs
When to Select Overmolding for Plastic Injection Molding Projects
Which materials are best suited for the overmolding process?
How does overmolding differ from traditional injection molding?
Are there any limitations or challenges associated with overmolding?
What factors should be considered when selecting materials for Over Molding?
Are there any specific design considerations to consider when planning for overmolding production?