What steps take special tool components from design to full-scale production?
Taking special tool components from initial concept to full-scale production requires a structured engineering workflow that validates design, confirms manufacturability, and ensures repeatable performance in mass production. At Neway, this transition is driven by simulation-based engineering, prototyping, tooling development, and scalable manufacturing processes such as metal injection molding, aluminum die casting, and plastic injection molding—depending on part geometry, material requirements, and load conditions for power tools and locking systems.
Step 1 – Design & Performance Definition
Engineering begins with defining key requirements: torque resistance, impact loads, lifecycle expectations, and ergonomics. Load cases are simulated using CAE tools to identify stress zones and optimize geometry. Early materials are selected from alloys, engineering plastics, or composites based on strength-to-weight needs. At this stage, manufacturability is assessed to ensure alignment with suitable processes, such as sheet metal fabrication or precision casting.
Step 2 – Functional Prototyping & Validation
Prototypes are produced using CNC machining prototyping, 3D printing prototyping, or rapid molding prototyping. These allow physical validation of component fit, strength, stiffness, and assembly interfaces. Performance is tested through torque cycling, vibration, drop, or thermal endurance testing. Engineering adjustments are made at this stage before committing to tooling.
Step 3 – Tooling Development & Pilot Production
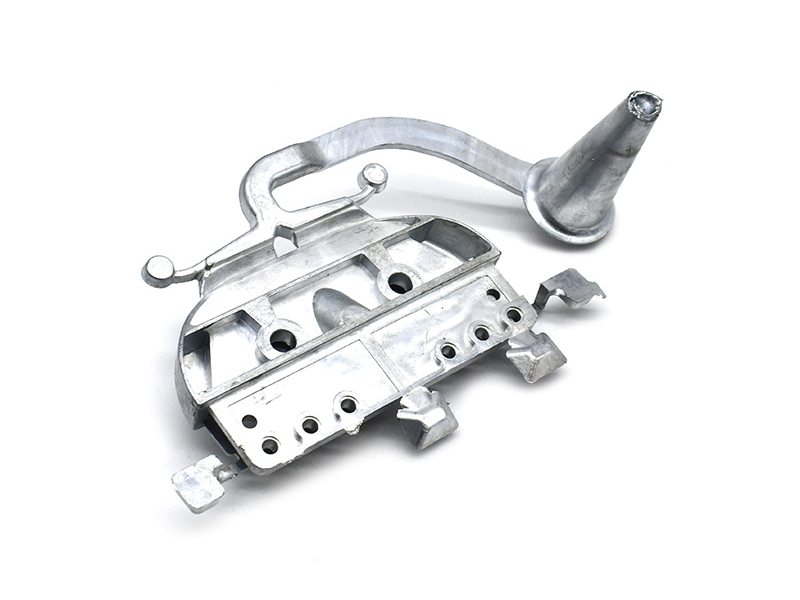
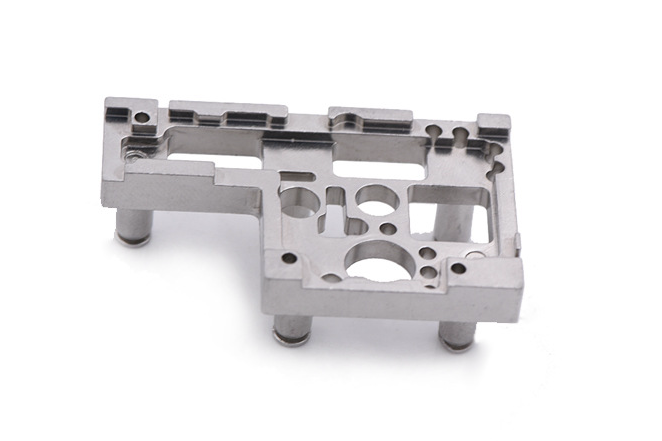
Once geometry is validated, production tooling is developed. For complex geometries, metal injection molding, die casting, or injection molding is selected. Small pilot batches are produced to confirm dimensional accuracy, surface quality, and assembly behavior. Critical areas may be refined using the appropriate heat treatment process as described in Neway’s heat treatment guidelines.
Step 4 – Process Stabilization & Quality Control
The transition to mass production involves establishing repeatable production parameters—molding flow rates, powder density control, heat treatment curves, and resin traceability. Statistical process control (SPC) is implemented to maintain tolerance and functional consistency across every batch. Surface finishing such as tumbling or electropolishing standardizes roughness to ensure stable performance under load.
Step 5 – Full-Scale Production & Assembly
After process stabilization, full-scale production begins. Components are assembled with bearings, fasteners, seals, and power modules—following controlled specifications. Integrated production strategies, such as insert molding or overmolding, can combine the strength of metal with ergonomic plastic outer shells. The final inspection ensures that each part meets the prototype performance and certification criteria for the intended market.
Closing the Loop – Feedback for Continuous Improvement
Neway maintains a digital and physical feedback loop between quality, engineering, and production teams. Deviations are analyzed via root-cause methodology, allowing corrective action at tooling, process, or design levels. This continuous improvement approach ensures strong consistency and reliability in every production cycle.


